
Our Founder
Hi, I’m Lindsey, interior designer and founder of Brafford at Home. I’m so glad you’re here!
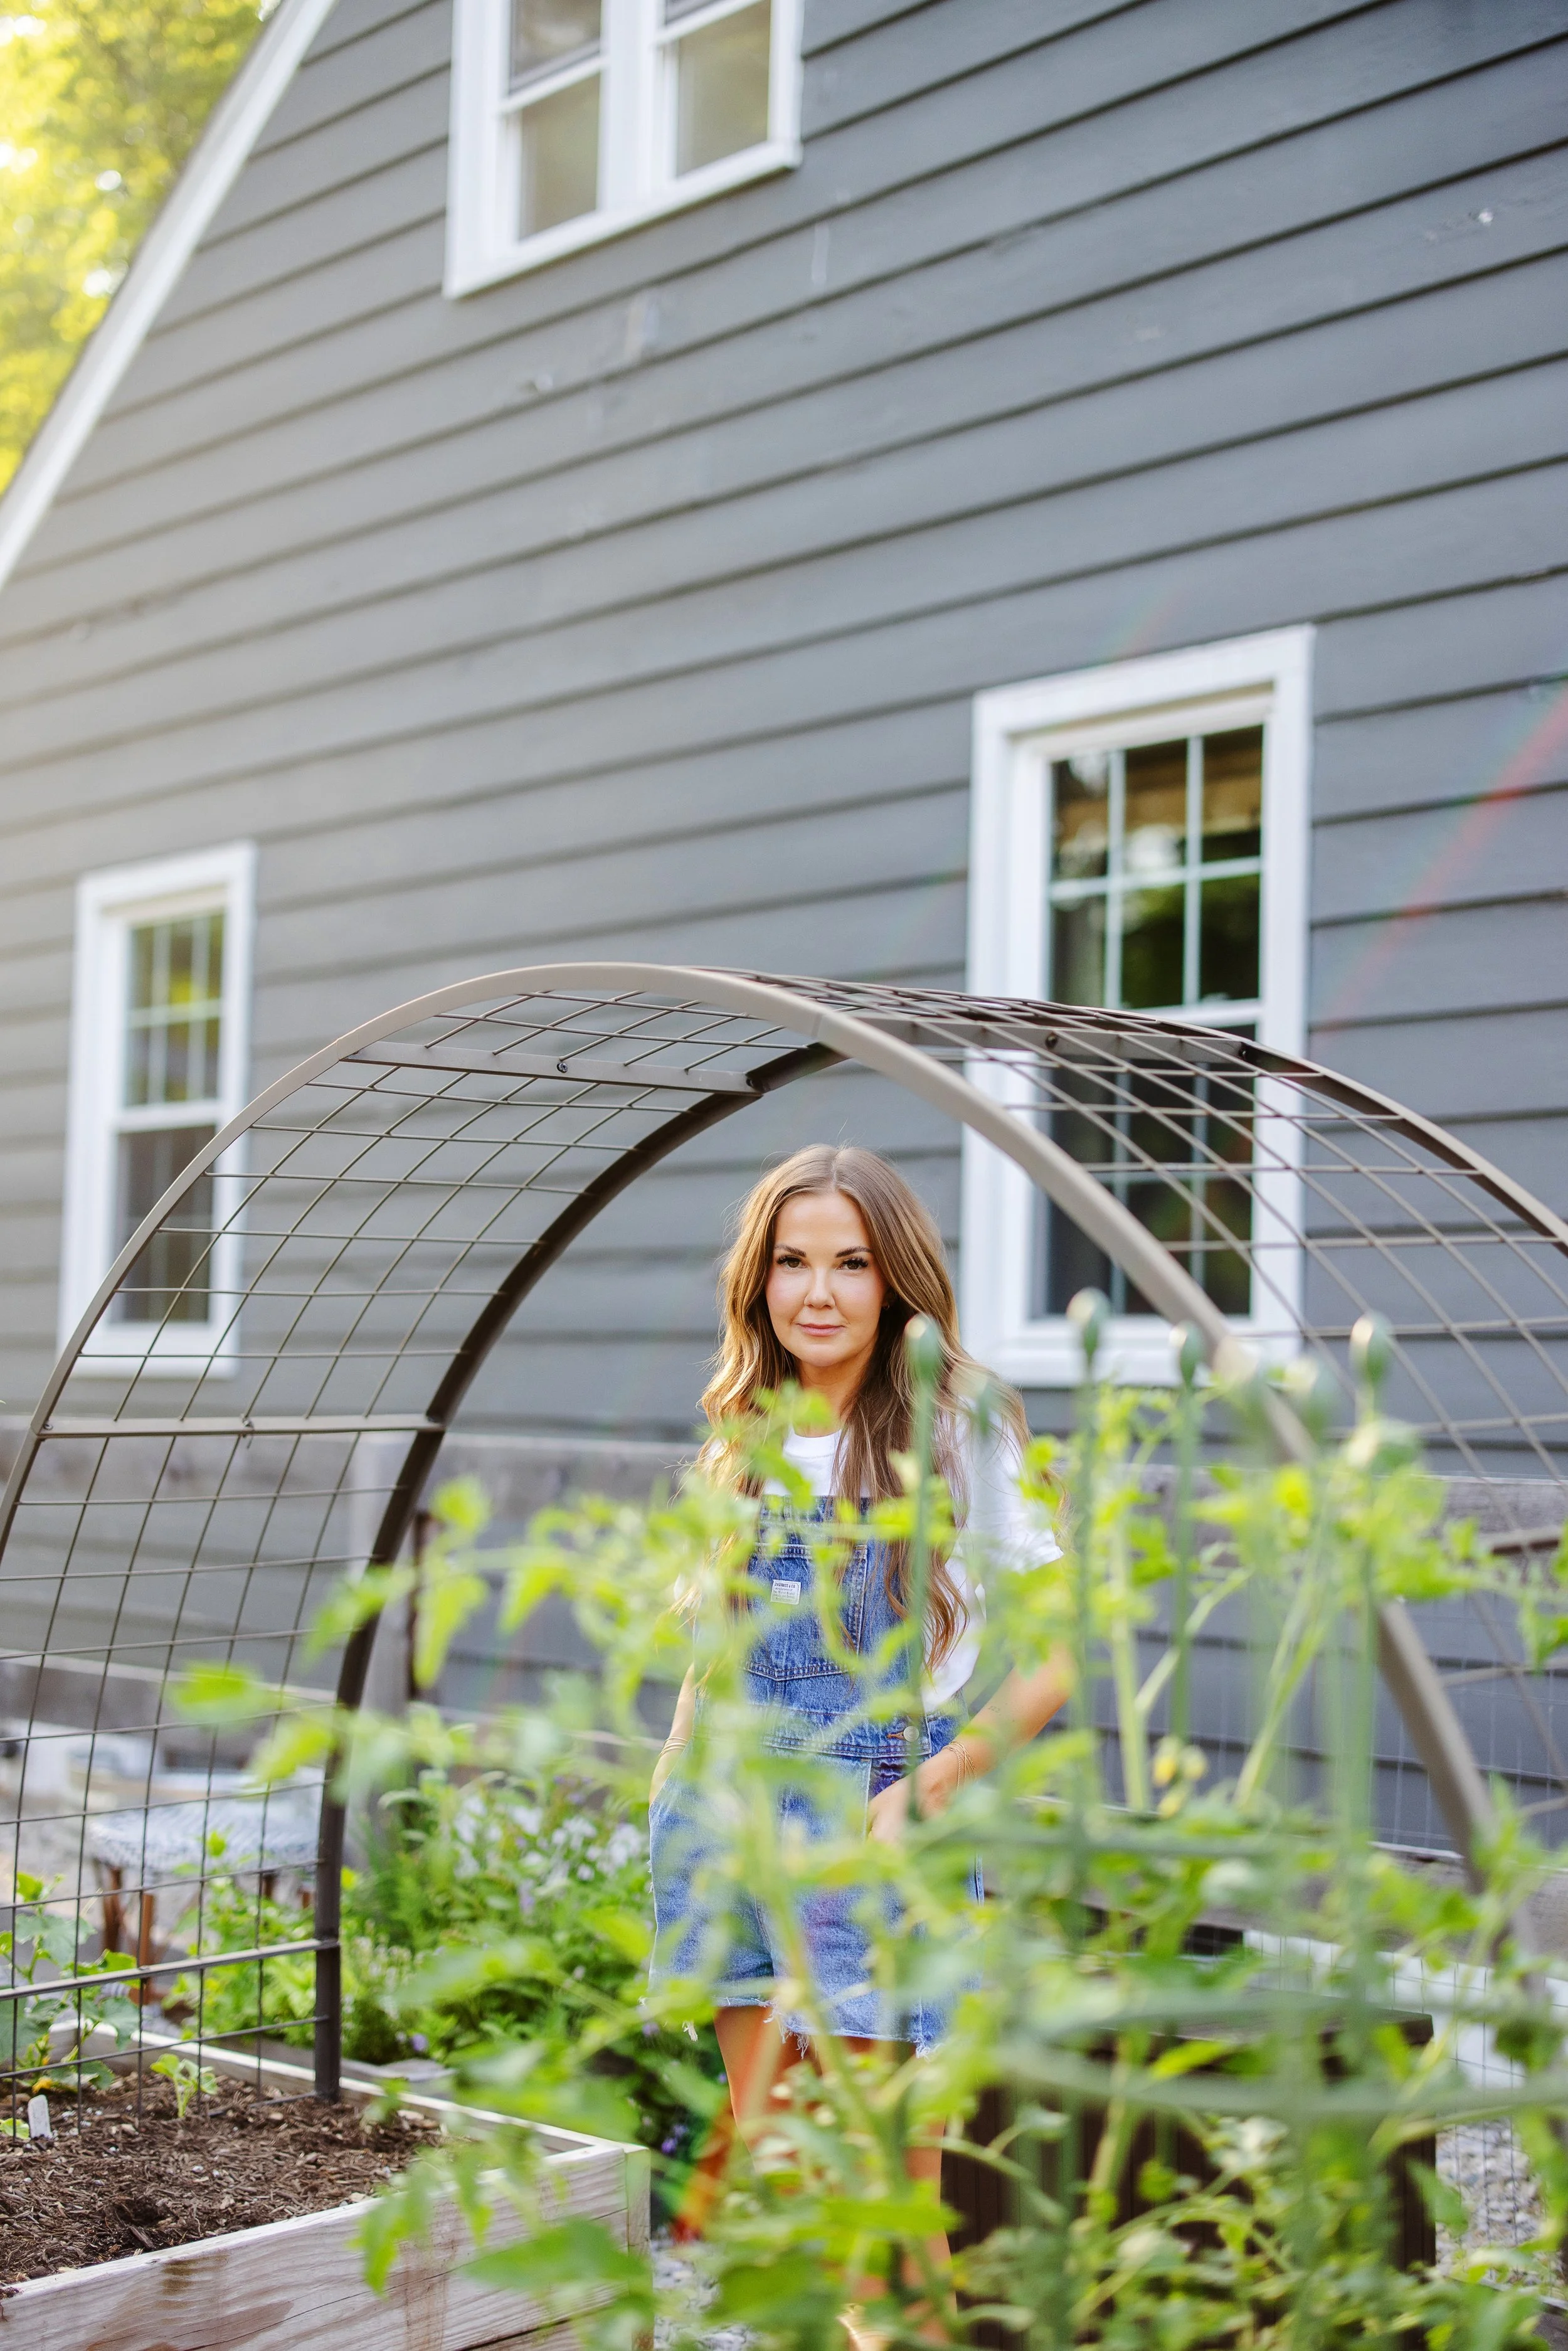
I was born and raised in Cincinnati and built a life here with my husband Andy and our two goldendoodles, Frankie and Poppy. When I’m not designing or dreaming up projects, you’ll find me in the garden, baking sourdough, treasure-hunting for antiques, or walking the neighborhood with Andy and the pups. We’re big fans of slow mornings, weekend getaways, and yes, we never miss a Bengals game (a true family tradition).
Brafford at Home began with the renovation of Andy’s grandfather’s 1952 Cape Cod — a project that lit a spark. Since then, it’s grown into a lifestyle and design brand rooted in the belief that home should feel lived-in, layered, and full of soul. I draw inspiration from Nancy Meyers films, New England cottages, and spaces that tell a story.
This brand is my way of sharing what I genuinely love: timeless design, meaningful details, and the everyday moments that make life feel beautifully intentional. Whether we get to work together or you’re just following along, I hope Brafford at Home feels like a place you’ll want to come back to.
With warmth,
Lindsey 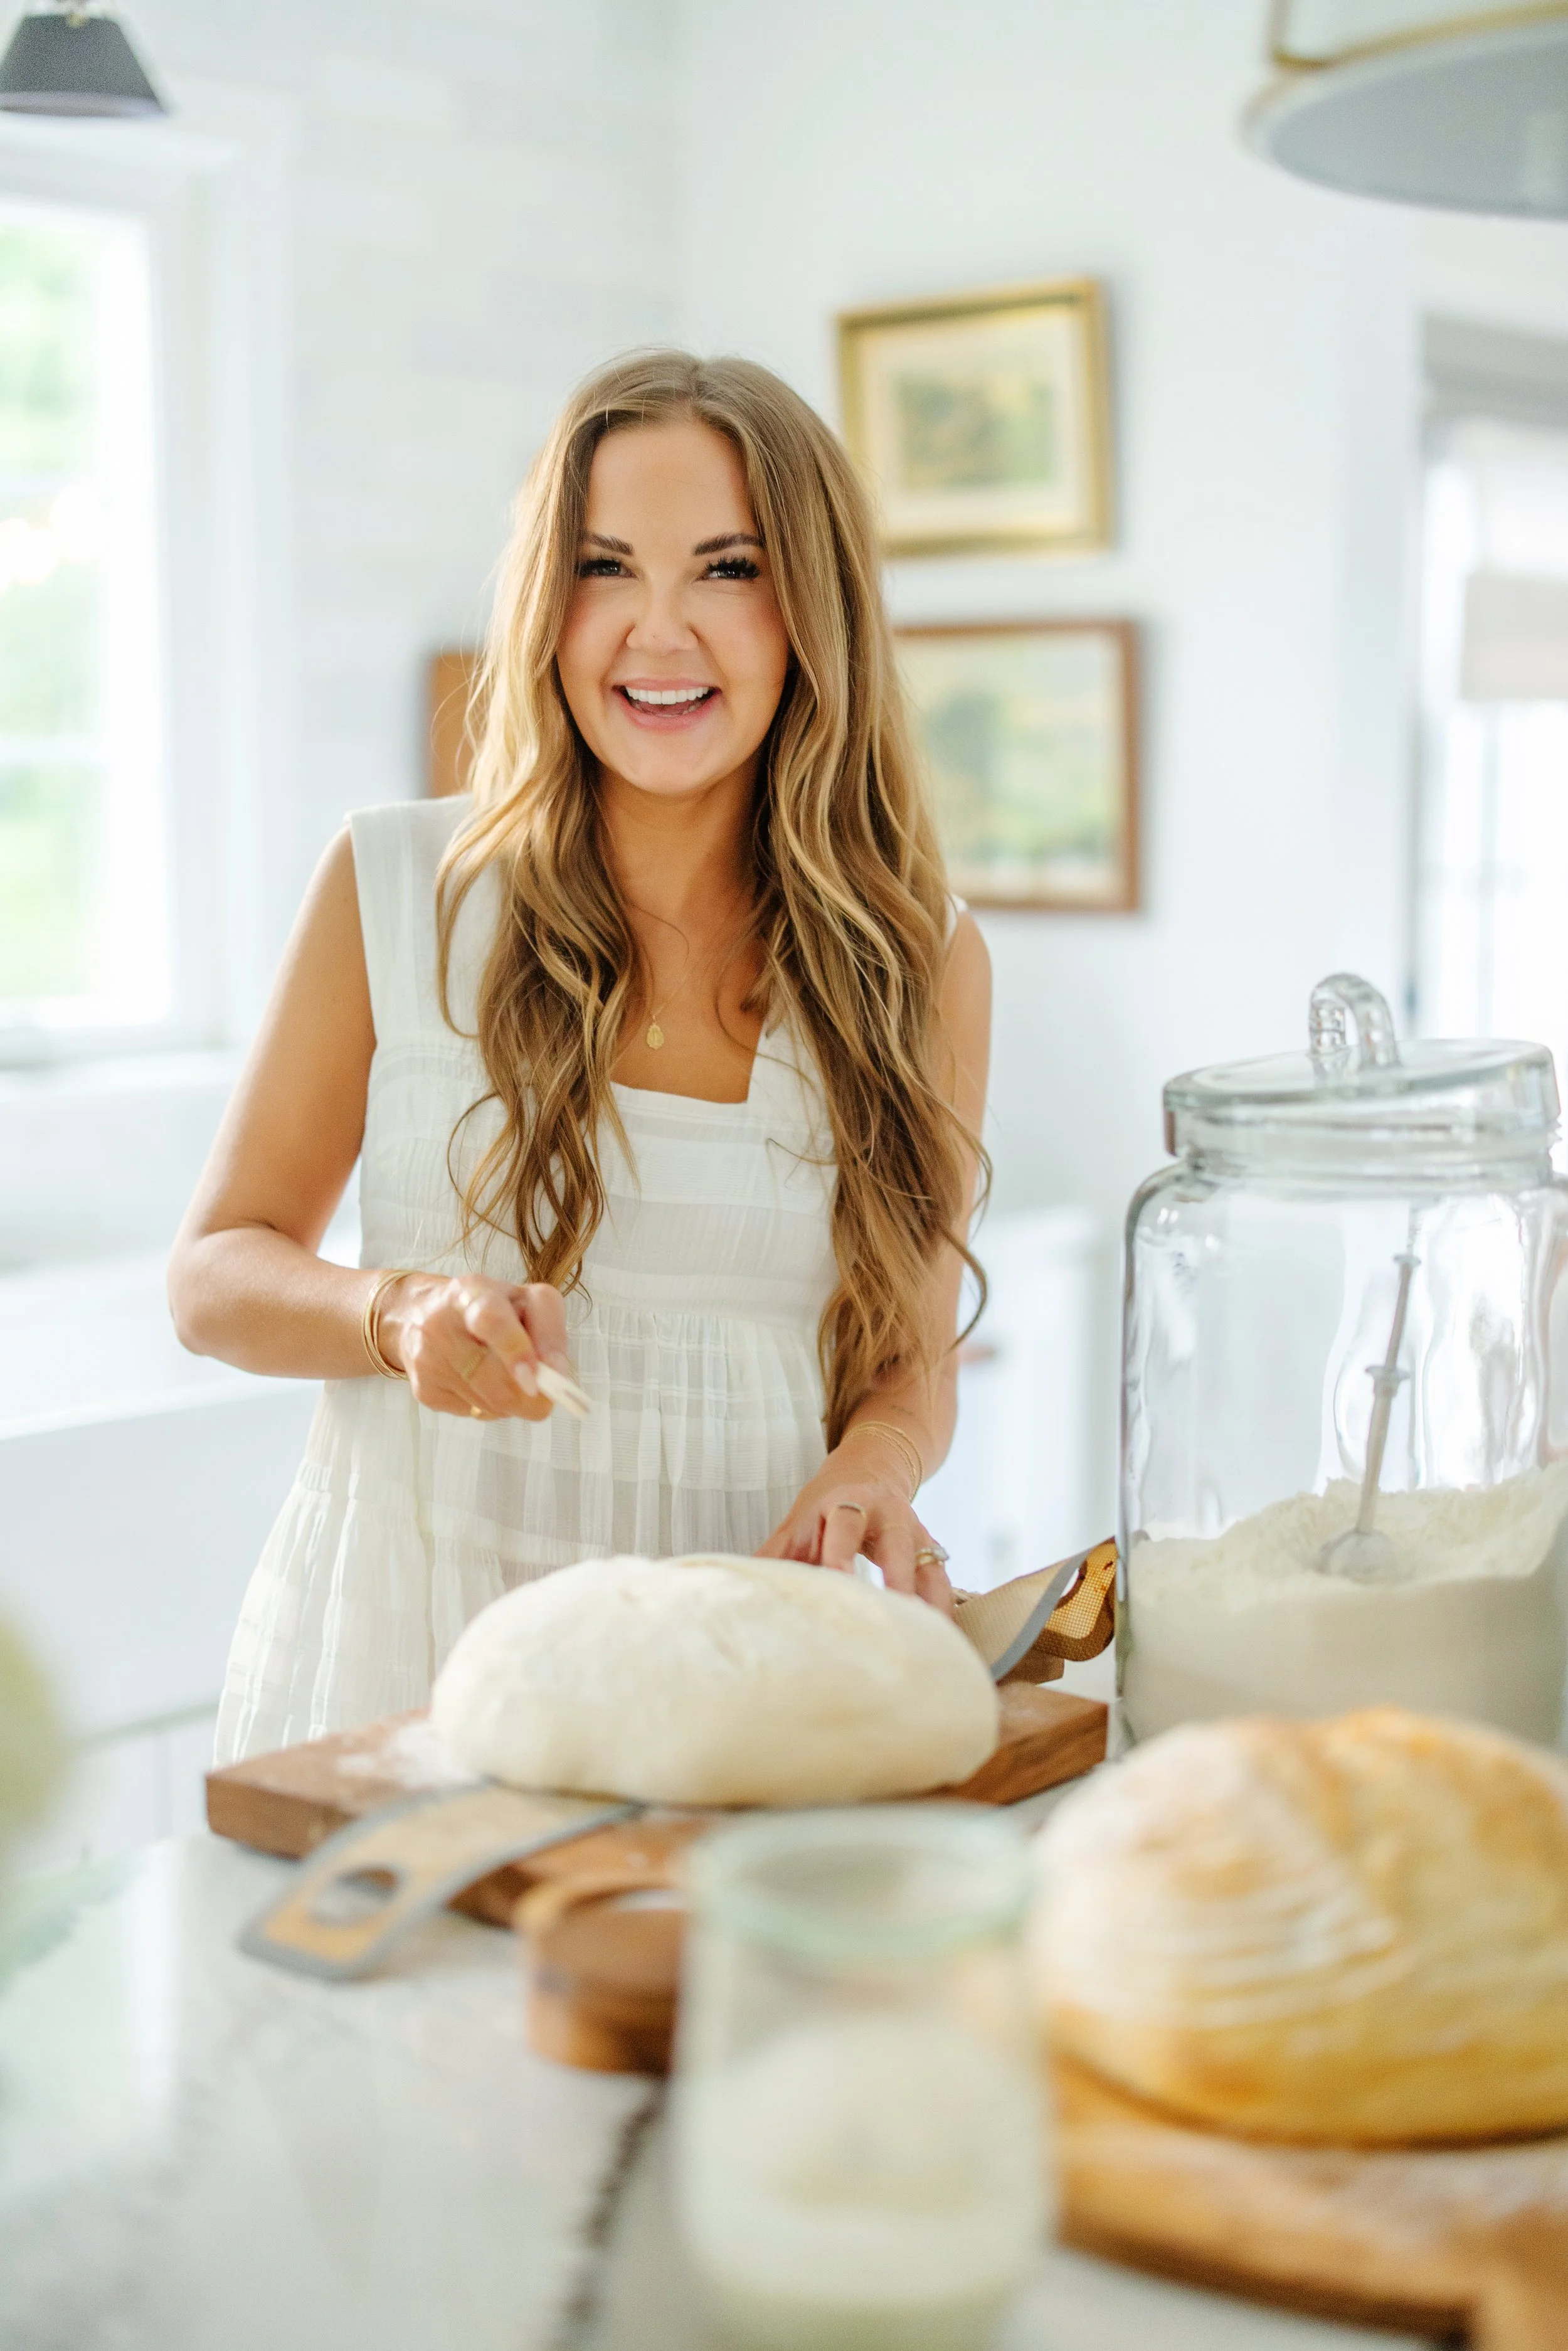
-
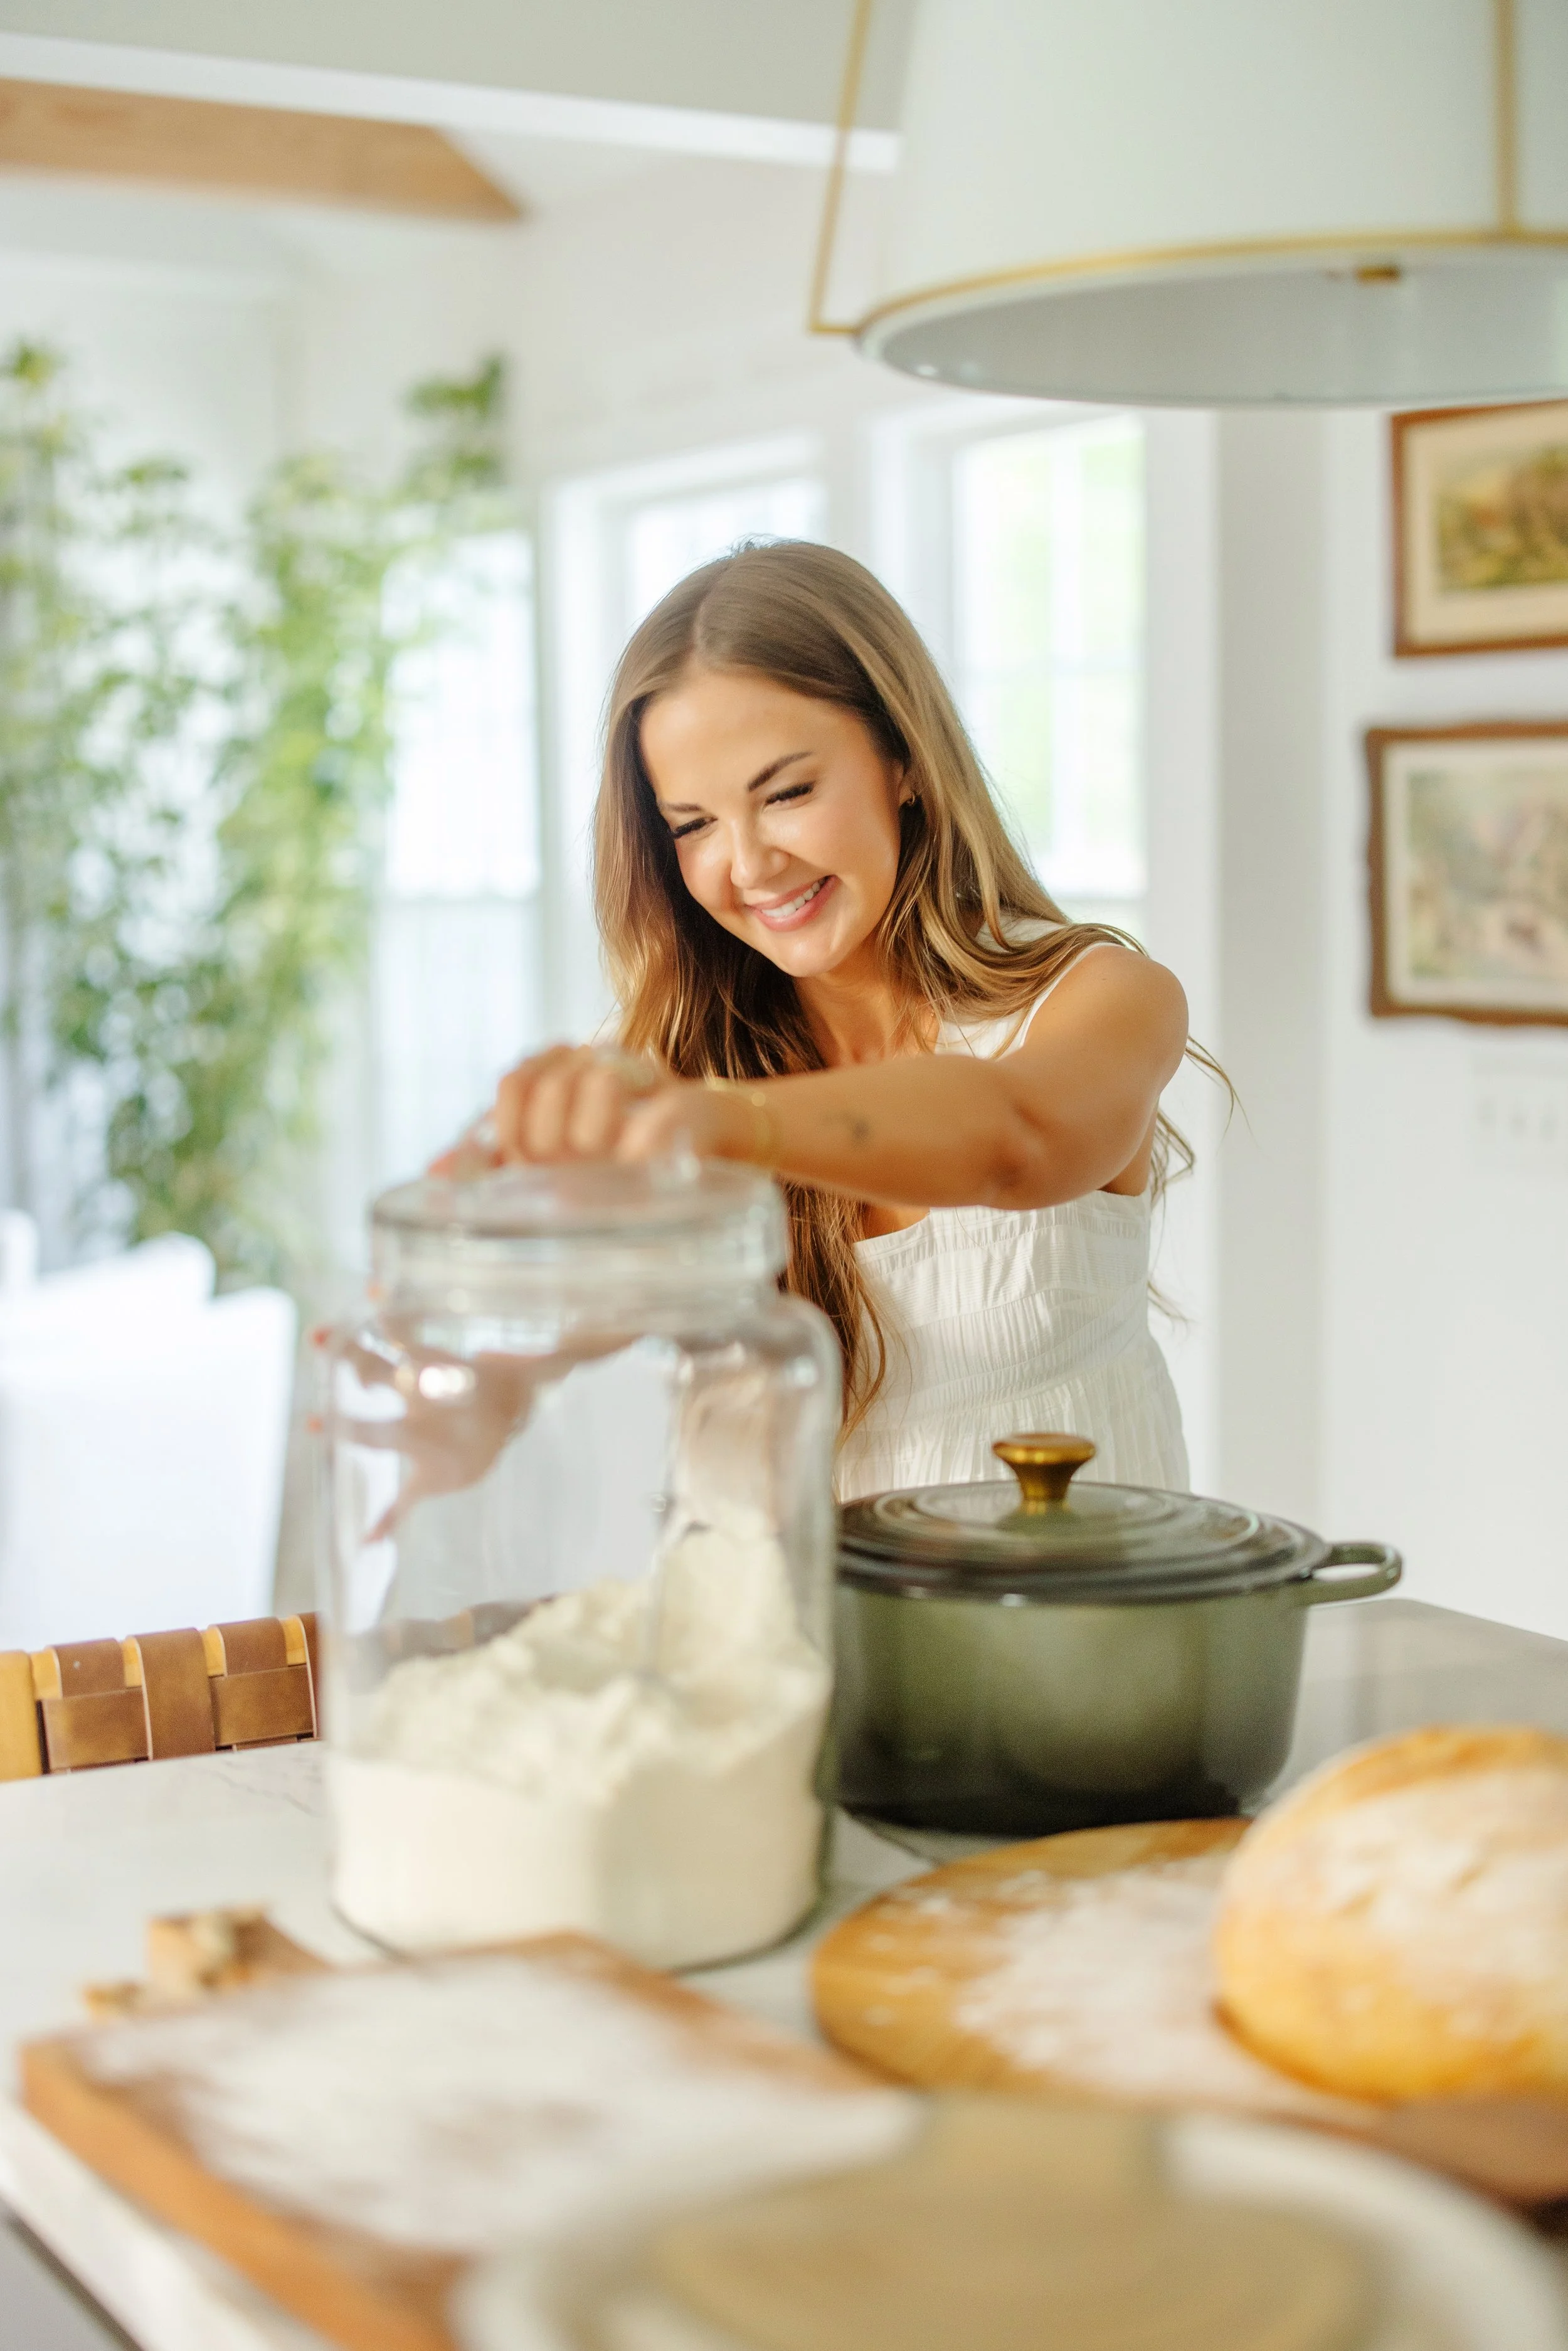
Lindsey’s Everyday Sourdough
There’s something about making sourdough that feels deeply grounding — the stretch and folds, watching your dough rise on your counter, the crackles of a crust straight out of the oven. This is my everyday sourdough recipe. It’s simple, reliable, and satisfying. It’s the one I reach for week after week, and the same one I teach friends when they begin their own sourdough journey.
Ingredients
• 125 g established sourdough starter (fed the night before and used just after peak)
• 350 g bottled, filtered water
• 525 g King Arthur Unbleached Bread Flour
• 10 g fine sea salt
The Process
1. Prepare the Starter
The night before baking, feed your sourdough starter so that it’s strong and active by morning. You’ll know it’s ready when it’s just past its peak and begins to gently fall — that’s when it’s perfectly balanced for baking.
2. Mix the Dough
In a large mixing bowl, pour in 350 grams of bottled, filtered water. Add 125 grams of your active starter and whisk with a Danish dough whisk until no lumps remain.
Add 525 grams of King Arthur Unbleached Bread Flour and 10 grams of salt. Mix thoroughly until the dough looks shaggy, using a plastic bench scraper to gather any dry bits from the bottom or sides of the bowl.
3. Measure & Rest
Take a quick temperature reading of your dough and reference a bulk fermentation chart to estimate the proper fermentation time. Cover the bowl loosely with a disposable shower cap (or a warm, damp towel) and let it rest for one hour.
4. Stretch & Fold
After the first hour, begin a series of four stretch-and-folds, spaced 30 minutes apart. This helps develop the gluten and structure. You’ll know your dough is properly fermented when bubbles are forming on the top and it begins to dome, slightly pulling away from the edge of the bowl — soft, elastic, and bouncy.
5. Shape
Lightly dust your countertop and banneton with rice flour (it releases beautifully, unlike wheat flour). Turn the dough out onto the counter and shape it gently. Properly fermented dough should leave little to nothing behind in the bowl.
6. Rest & Refrigerate
Transfer the shaped loaf seam-side up into your floured banneton. Cover and refrigerate overnight to develop flavor and make scoring easier.
7. Bake
In the morning, place your Dutch oven inside the oven and preheat to 450°F. Once preheated, remove your dough from the fridge and transfer it into a bread sling. Score deeply — this is what gives the loaf its dramatic oven spring and ear. Bake covered for 25 minutes, then uncover and bake an additional 15 minutes, or until the crust is a deep golden brown.
8. Cool
Resist the urge to cut in right away! Let your loaf cool completely before slicing — this preserves the crumb and prevents it from turning gummy. Enjoy with butter, preserves or Andy’s favorite — with eggs for breakfast.
-
Curated by The Brafford’s on Spotify
Follow: Brafford at Home
Find your perfect playlist below…
Happy hosting!